Here's a nice trick that will make the owners of a simple point-and-click roll-film camera proud.
These cameras usually have self-cocking shutters, which means the first stage of pressing the shutter release tensions the spring in the shutter, and only the very last bit lets the shutter go. (You can pride yourself on your wonderful shutter action. Most more expensive shutters work in two stages with a separate cocking lever and release lever that is much less convenient.)
And cheap roll film cameras rarely have fancy mechanisms to stop you clicking that shutter more than once on a single negative, like the expensive ones do. That makes these cameras really good to use.
The sort of cameras I am thinking of look like these:


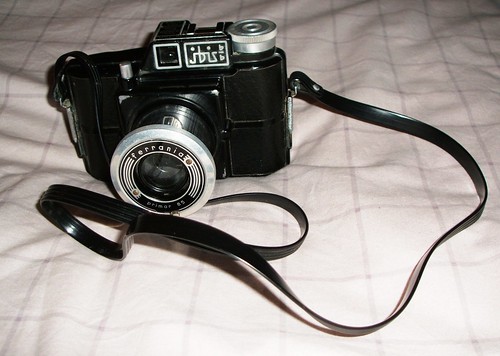
They are essentially the point-and-shoot pocket cameras of the 1950s. Often they are very elegant and attractive. They are always interesting, and usually they out-perform a Holga or Diana. They are also usually much cheaper. (But a Holga or Diana would do if you have one of these. Or even a box brownie or something like that as long as it takes 120 film, rather than 620 film which isn't available, or 127 film which is difficult to get hold of.)
Multiple exposures
So all you do is click several times and take multiple exposures.
Either take two exposures in different places that you think will complement each other,
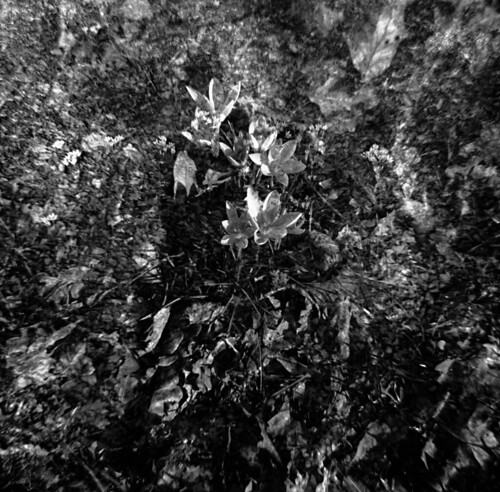
or try to hold the camera still (better still put it on a tripod, but sadly many of these kinds of camera don't come with a tripod thread) and take several pictures one after the other.
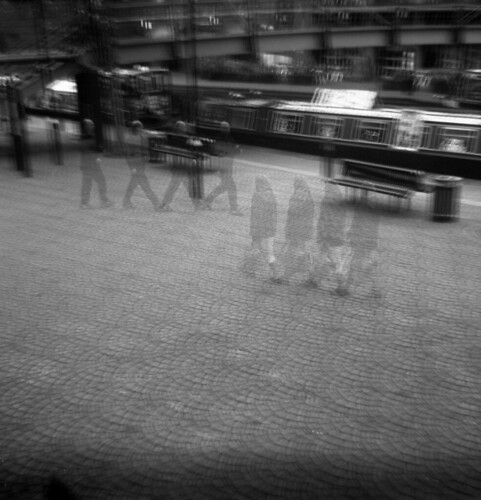
This blog is not going to be just a catalogue of cool effects though. It's also about how to make these cool effects cooler and better. So you are in control.
If you are doing multiple exposures there are two things to know.
- Your exposure values must change. So if you are using two exposures on the same film, the film will see twice the amount of light. Four exposures is four times the light. This means if you think ISO400 film would give you good exposures one particular day, double exposures on ISO200 film should be about right too. So would be a quadruple exposure on ISO100 film.
- The multiple exposures will tend to "muddy" the image. That means the various exposures will tend to even each other out to give a uniform grey. So: multiple exposures reduce contrast.
If you are in charge of all stages of the process you can do something about contrast. Push-processing (i.e. exposing film at high speed and increasing development, e.g. exposing a 100 film at 400 or a 400 film at 1600 and developing longer to compensate) increases contrast. Do this if you can. Or you can print your image on high contrast paper. Sadly both of these are beyond most people who send their film to labs: if you are one of these, expect to have to use a photoshop-equivalent to increase contrast on your scanned negatives.
Panning
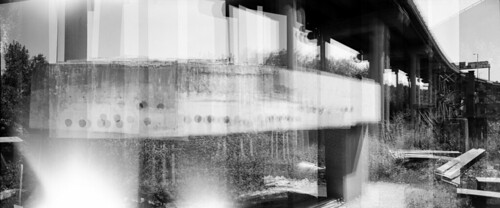
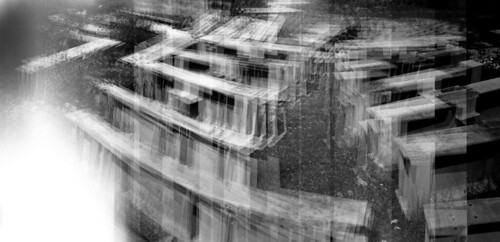
Here's a variation of the same trick. Take a picture and then wind on the film and move the camera a little bit. Then take another picture and wind on the film a bit more and move the camera again. Carry on a dozen or maybe more times.
Such as here.
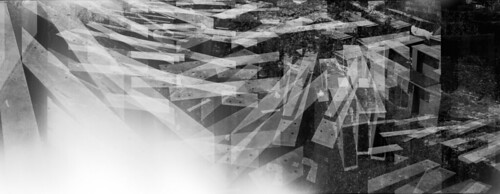
Or here.
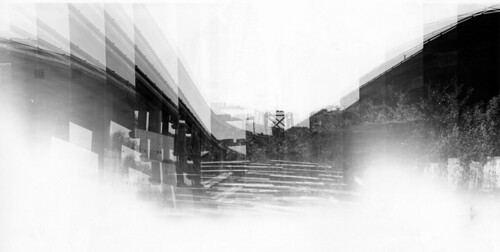
(This set also had a light leak, which shows these are not unique to Holgas or Dianas either. More on this later too.)
If you are clever or lucky your panning might equal or nearly equal the movement of the film. (Hmmmm... which way to pan? it depends on which way your camera pulls film though. Don't forget the image on the film is upside down. Here's a puzzle for you. Which way should you pan your camera? The answer's easy if you can flip your brain into a mirror image and then turn it upside down.)
Adding a slit
Finally, here's a camera mod, rather than just a different way of using the camera. For this very easy mod, cut some black card and glue it inside the camera making a small vertical slit maybe 5mm wide.
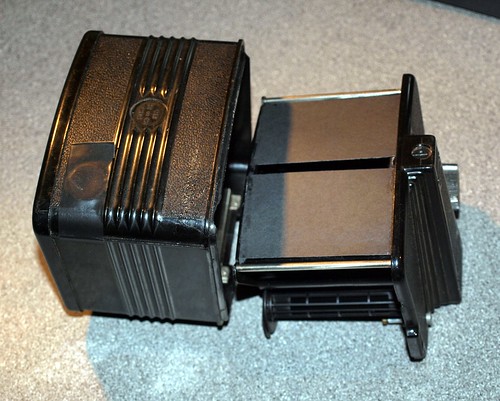
Then the click-wind-and-pan action only takes single exposures, albeit very long thin exposures. (OK you'll have to learn how much to wind. Maybe they will overlap or maybe there will be gaps. That's part of the fun.) With some practice, and perhaps some creative cropping you'll get something nice.
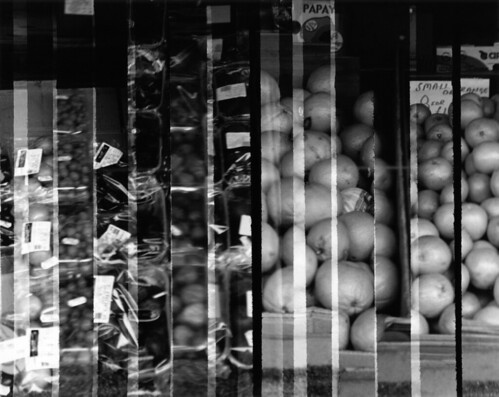
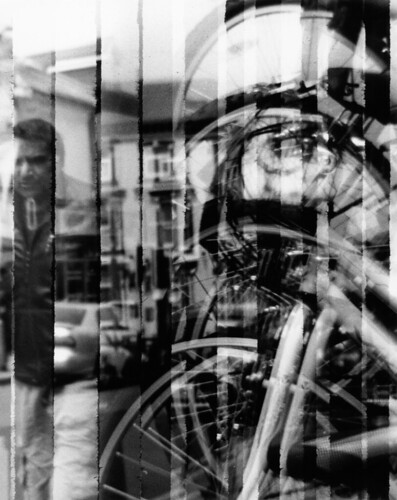
A very thin slit with a camera that's panning is the principle of a slitscan. If we can make the panning and the film-winding smoother, and the slit thinner, we get a completely different way of taking a photograph with a normal camera. This will be taken up later too.
I first saw this on your Flickr stream, and have just developed my first film using this mod on my own Ilford Envoy. They look OK, I'll scan and upload them in the next few days.
ReplyDeleteThanks tony. I look forward to seeing them ;)
ReplyDelete