The mod described here will introduce you to the delights of making your own lens for your SLR or DSLR.
You need a camera that takes interchangeable lenses for which the viewfinder works through the taking lens. That's a (D)SLR. The shutter of your camera must be in the camera itself, not the lens, and accessories like extension tubes and bellows should be inexpensive. This rules out most medium format SLRs, which isn't much of a problem. If you don't have a digital SLR you can buy a 35mm film SLR for around £10 on the auction site or at a car boot sale. With the right choice of camera, the accessories you need will also be very inexpensive.
But hang on. Lens-making is very difficult!
Lens making is difficult, simply because of the technical, engineering and mathematical task of putting together a lens that views the world perfectly as it scientifically should. But don't forget what we are doing here. We are trying to use our cameras to produce images that are not perfect. That means our lenses need not be perfect. As long as they focus they should be fine... Actually, who says anything about them having to focus?
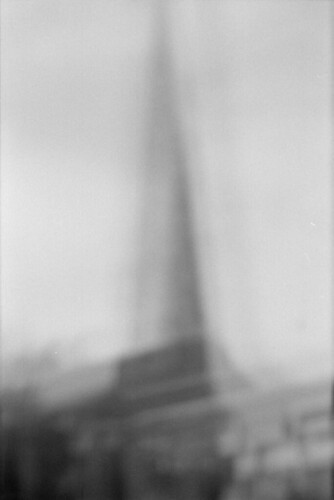
Here's one made with a home-made lens that doesn't focus:

You can try anything, and it is bound to be unique and individual.
By lens-making I don't mean grinding the glass by hand. I mean assembling pieces of glass you've collected from broken cameras or other sources (maybe a magnifying lens from the local market) and using these.
The hardest part is in making some sort of mount for the glass that attaches to the camera and holds everything rigid in the right place. In this blog I am going to suggest what I think is the simplest solution to this problem, using standard parts that are easily available. This isn't necessarily the cheapest solution, but it won't break the bank either.
Close-up lenses
So-called "close-up filters" or "macro filters" are usually nothing more than magnifying lenses set in a mount with a screw thread. That's half the task done. All we need is to attach it to a camera.
Reversing rings
Fortunately, a special gadget called a reversing ring does just that. Almost. Actually a reversing ring wasn't supposed to attach a filter to a camera directly, but was supposed to attach a normal lens to a camera the wrong way round. (That's the "reversing" bit.) So the ring screws into the camera and accepts the thread on the front of the lens. This is the filter thread, and just about all filters are "double threaded" meaning they have threads on the front and back. So with a reversing ring you can also attach a filter to a camera, the wrong way round.
The lens-police aren't going to notice if our filter is the wrong way round. (But you might notice something subtle about the differences for your particular filter - more on that later.) So with the reversing ring we can use our close-up filter as a lens. But when we look through the viewfinder everything's fuzzy. Can't we do better?
Bellows
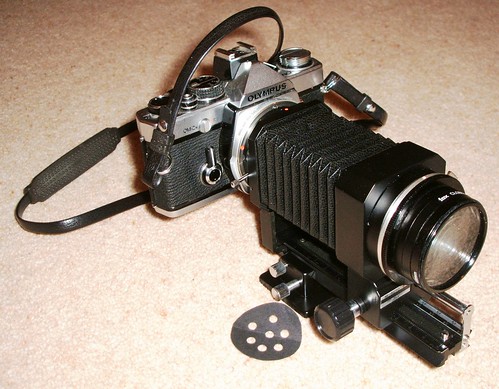
Well yes, but we need to focus. Which means move the close-up filter the right distance from the film or sensor. For most close-up filters this means moving it further away, and the trick to do that is to put a bellows between the reversing ring and the camera.
When you do this you get something like this.

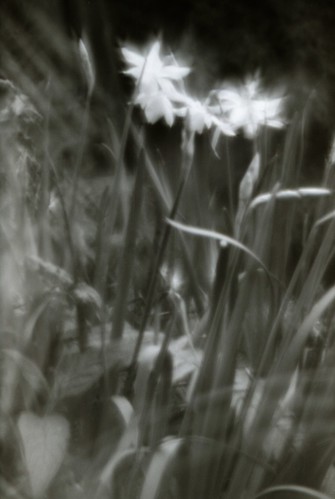
Here comes a wee bit of mathematics. The right distance for the filter to film/sensor to use is the focal-length of the lens. (For focusing closer objects you will need a little bit more than the focal length.) close-up lenses are called +1, +2, +3, +4, etc, with 1,2,4,10 being the common sizes. The +1, +2 etc number is the reciprocal of the focal length, in metres. That means +1 is 1/1metres = 1000mm. +2 is 500mm, +4 is 250mm and +10 is 100mm. The +10 makes quite a useful lens this way. It produces a very soft image and is slightly "long focus" so is good for portraits. Here is it in action.

An alternative approach to using a single lens is to combine several close-ups. A +4, another +4 and a +1 makes (effectively) a +9 with a focal length of around 111mm. Here is this combination.

Which gave this.

Suggestions for which equipment to buy
I will close by saying a few words about choice of equipment, especially with a view to reducing costs.
The bellows will be the most expensive item. Bellows are made for all cameras, and perhaps you have bellows for your camera already, in which case use those. The cheapest bellows to buy on the auction site is usually for so-called M42 cameras. These include earlier Prakticas, Pentaxes, Zenits and Fujicas, as well as a number of others such as some Yashicas. If you have a DSLR you will probably find that an M42 adapter is an inexpensive way to fit M42 attachments to your camera, so you should get one of these. Alternatively you should standardise on one of the more popular lens mounts, such as the Pentax K-mount, the Olympus OM mount, or a Canon or Nikon mount. This will reduce the cost and increase the availability of parts later.
You also need a reversing ring. For this you should as far as possible choose your standard filter thread size. Look at all your lenses and work out what filters they take. (49mm, 52mm, 55mm, 58mm, 62mm are common sizes.) Choose a size that works for your particular lenses. If in doubt choose the one that works for your standard lens, rather than the others. (For example, I chose 49mm as most of my lenses near 50mm have that filter size.) Now get some close-up filters in this size and a reversing ring to attach them to your bellows.
It will help (for now) if your camera has through-the-lens metering or has automatic exposure. Most have this. Working out the exposure for other cameras will be a subject for later. (A little more maths is involved.)
This is just the beginning of the lens-making hobby. Be warned: it can get addictive. For much much more information, look here: http://www.flickr.com/groups/homemadelens/.
No comments:
Post a Comment